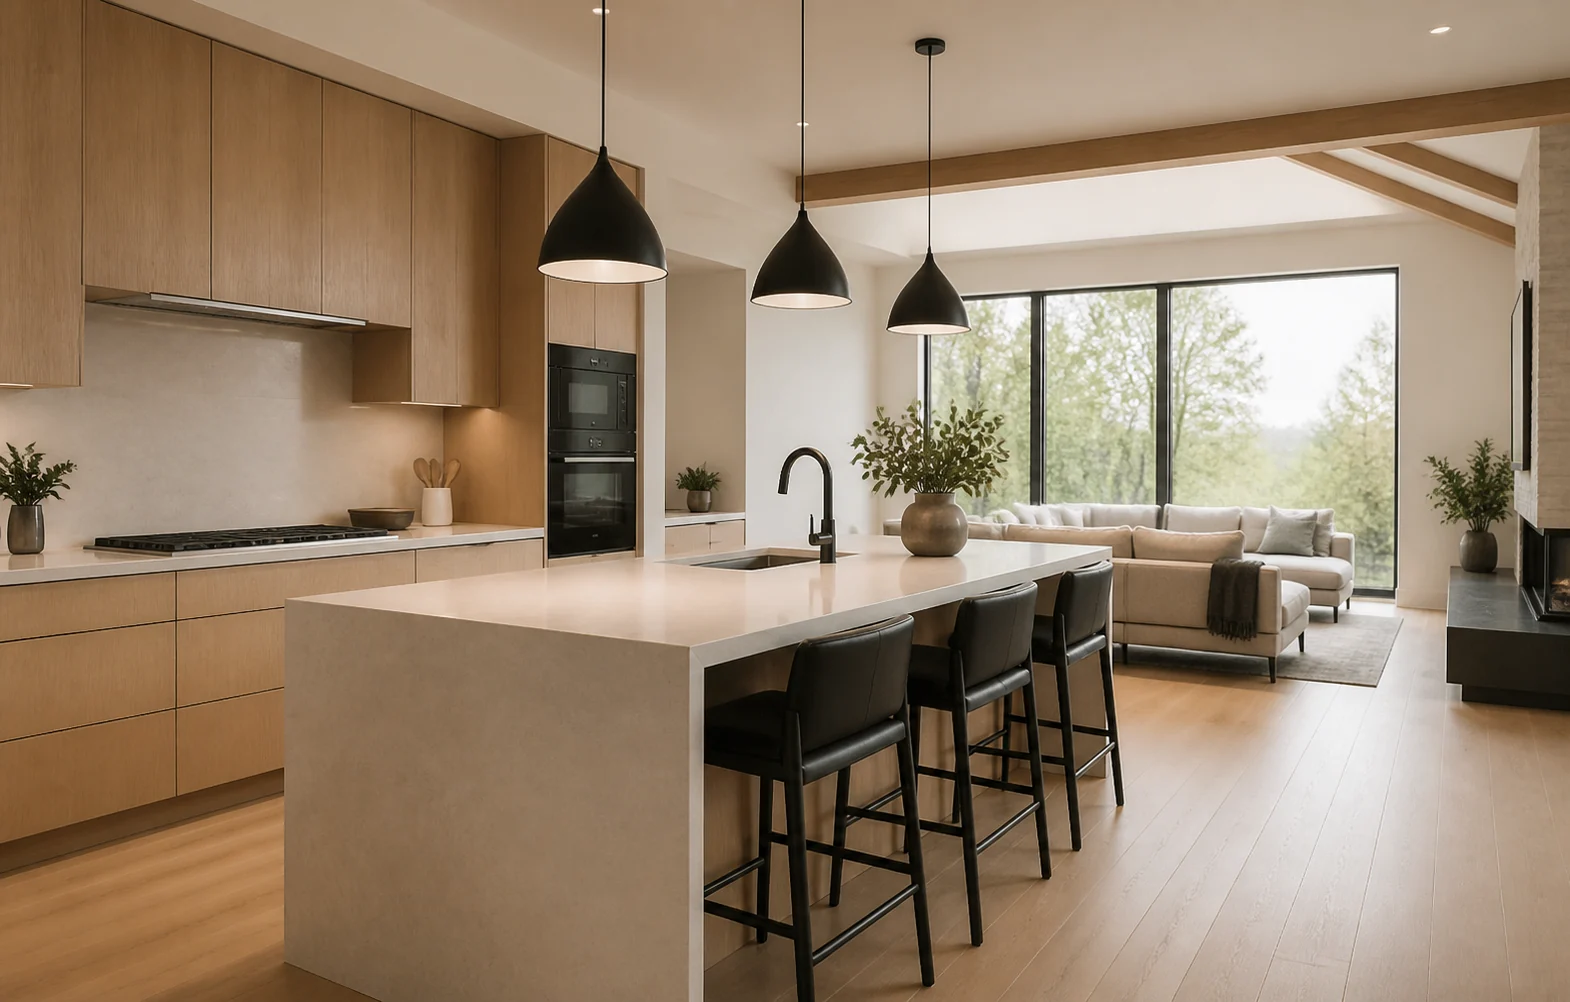
A useful kitchen renovation plan begins with how the room should work, not with a cabinet colour. Document the existing conditions, decide which daily problems must be solved, and connect layout, storage, appliances, lighting, and finishes before requesting a detailed scope.
This checklist helps organize that first planning pass. It does not replace property measurements, design, engineering, permit review, or trade input where those are required.
1. Record how the kitchen works today
For several normal days, note what creates friction:
- two people cannot pass comfortably
- appliance doors block circulation
- preparation space is separated from the sink or cooktop
- frequently used items are stored too far from where they are needed
- waste, recycling, or small appliances have no practical home
- task lighting is weak
- seating interrupts the work zone
- the kitchen feels disconnected from dining or living areas
Photograph the room from every doorway. Measure the main walls, ceiling height, windows, doors, and major appliances as a starting reference, while recognizing that final construction dimensions should be verified professionally.
2. Define the non-negotiable outcomes
Write three to five outcomes that the finished room must achieve. Examples include safer circulation, more uninterrupted preparation space, seating that does not block the kitchen, accessible storage, or better connection to an adjoining room.
Keep those outcomes visible while reviewing product options. A visually appealing choice that undermines the core function of the room is not solving the project brief.
3. Decide how much layout change to evaluate
Separate the project into possible levels:
- Finish-focused: cabinetry remains in roughly the same arrangement while surfaces, fixtures, lighting, or storage details change.
- Reconfigured: appliance, sink, cabinetry, island, or doorway locations change within the existing room.
- Connected-space: walls, openings, flooring, or adjacent rooms become part of the project.
The correct level depends on the problem, property, approvals, and available investment. Moving plumbing, ventilation, electrical service, walls, or exterior openings can add design and permit questions.
Review the kitchen renovation service for the commercial scope and the whole-home renovation service when several connected rooms are involved.
4. Plan storage by use, not by cabinet count
Make a short inventory of what needs to live in the kitchen. Group items by activity:
- daily dishes and glassware
- cooking tools and spices
- pantry goods
- small appliances
- waste and recycling
- cleaning supplies
- serving pieces
- pet or household items
Then assign those groups to the places where they are used. Consider drawer depth, corner access, tall storage, tray dividers, landing space beside appliances, and whether frequently used items can be reached comfortably.
5. Confirm appliances before locking cabinetry
Appliance dimensions, door swings, ventilation, electrical needs, plumbing connections, and required clearances affect the surrounding design. Record model information once selections are serious enough to guide the layout.
Check:
- refrigerator width, depth, hinge side, and ventilation space
- range or cooktop type and electrical or gas requirements
- hood or ventilation path
- dishwasher location relative to sink and storage
- microwave placement
- any panel-ready or built-in requirements
- countertop appliances that need dedicated space or outlets
Avoid approving a cabinet plan based only on nominal appliance sizes.
6. Build a lighting plan around tasks
Use more than one lighting layer:
- general room lighting
- focused light over preparation, sink, and cooking areas
- under-cabinet lighting where useful
- decorative light over an island or table
- controls that match how the room is entered and used
Note where shadows occur in the current kitchen and where glare would be distracting. Electrical changes should be reviewed as part of the wider scope, not after cabinetry is finalized.
7. Choose surfaces as a connected system
Cabinetry, counters, backsplash, flooring, wall colour, hardware, and fixtures meet at visible transitions. Review samples together under the actual room light when possible.
Consider maintenance, moisture exposure, heat, impact, slip resistance, grout or joint care, and how materials continue into adjacent spaces. Flooring deserves particular attention when the kitchen opens into the dining or living area. A small kitchen decision can become a multi-room transition problem.
8. Identify approvals and property constraints
Before scheduling work, confirm:
- municipal building or trade permit requirements
- strata approval and alteration-agreement requirements
- structural or professional-review needs
- elevator, access, parking, and working-hour limits
- product lead times and temporary kitchen needs
For Surrey properties, start with the Surrey renovation permit guide. For condos and townhouses, use the BC strata renovation approval checklist.
9. Prepare the estimate conversation
Bring the problem list, required outcomes, photos, existing drawings, appliance information, approval documents, and open decisions together. The renovation estimate request checklist explains how to package that information.
When you are ready to discuss the room and property, request a kitchen renovation estimate.